Create Account
If you already have an account on UX Network, skip to the next chapter.
If you do not already have a UX Network account, but you do have an EOS account, then you can use your EOS account's tokens to create an account on the UX Network.
Currently, you can use EOS and USDT tokens from your EOS account to do this.
To create your UX Network account, first, you must click on Login / SignUp at the top right of UtilityX:

On the menu that shows up, click on Create UX Account:

Choose account name
Choose a valid name for your account (12 characters, a-z, 1-5). It has to be a unique name, that is, a name that has not yet been taken on the UX Network.
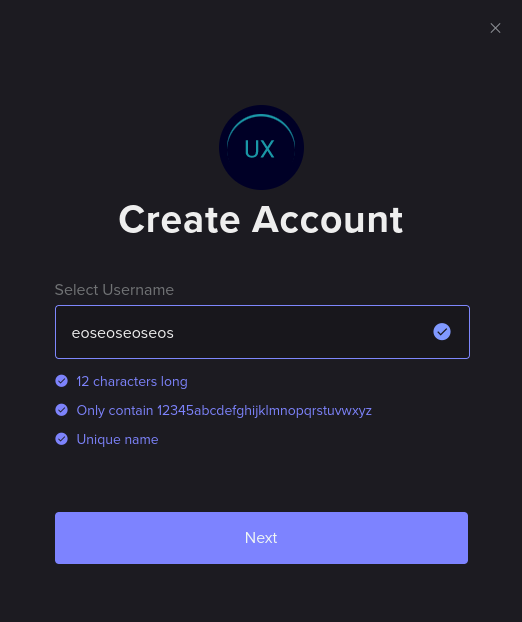
Once you have chosen a name that satisfies all requirements, click on Next.
Choose payment source
A new window will show up. It tells you how many UTX tokens your new UX Network account will receive, already staked for you to CPU and NET account resources, and how many UTXRAM tokens your new UX Network account will receive, already converted (staked) to kilobytes of account memory (RAM):
CPU, NET, and RAM are native UX Network account resources. They need to be staked to your account for you to be able to submit a quota of free transactions to the network every day and to use smart contracts that consume some of your account's RAM.
The new window will also ask you to choose how you would like to pay for your new UX Network account. Under the Select Token / Chain drop-down menu, choose one of the options, EOS or USDT from the EOS network. In the example below, we are stating that we will be paying with EOS from our EOS account:
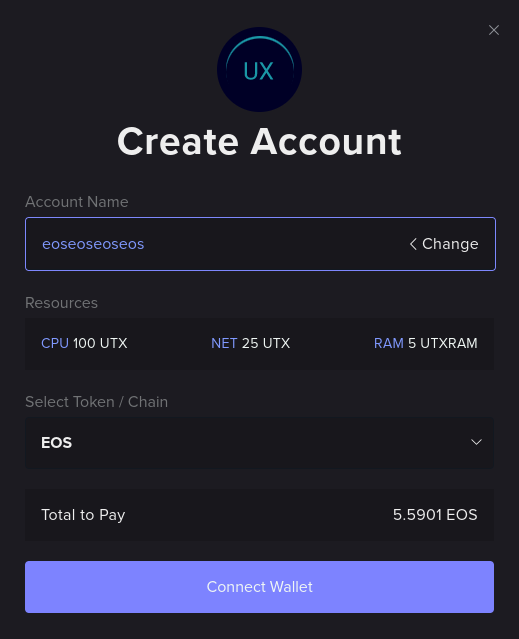
If all looks correct, click on Connect Wallet, which should ultimately pop up your EOS wallet's interface.
On your EOS wallet, perform all the authorizations required, which will connect it to UtilityX and prime everything for the final account creation decision and payment.
Confirm account creation parameters
The UtilityX interface should now have changed to acknowledge your connected EOS account.
In the example below, we are using the eostcreateux account from the EOS network to pay for the creation of the eoseoseoseos account on the UX Network:
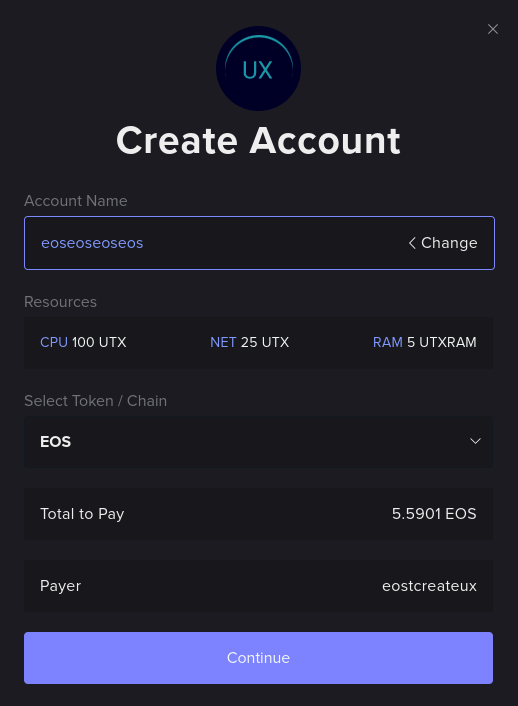
If everything is correct, click on Continue.
Configure UX Network account public keys
The next window allows you to customize the owner and active public keys of your UX Network account:
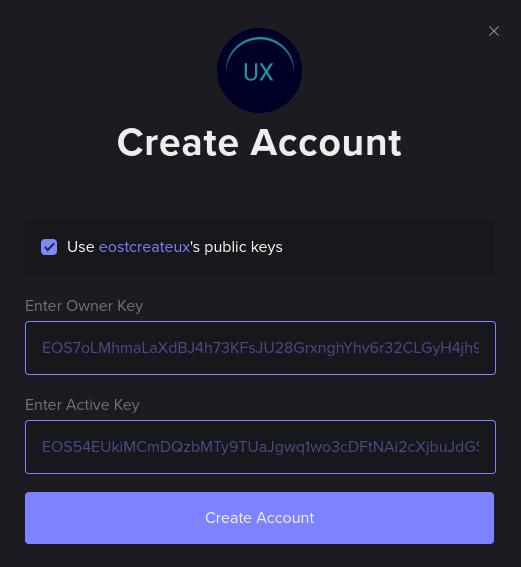
Since the UX Network and the EOS network use compatible keys, you can use the default offered values, which means copying the same keys from your EOS account into your UX Network account.
NOTE: If you specify custom public keys for your new UX Network account, make sure you are entering the correct public keys and that you have properly backed up the corresponding private keys.
Execute account creation
Once you are done with specifying the keys, click on Create Account, which should make your EOS wallet pop up and ask you to authorize the transaction to create your UX Network account.
Once you sign that transaction in your EOS wallet, UtilityX should display a progress box in the bottom-right corner:

Once the account creation is done, the following notification will show up:

If you click the notification, you can see the full account creation report:
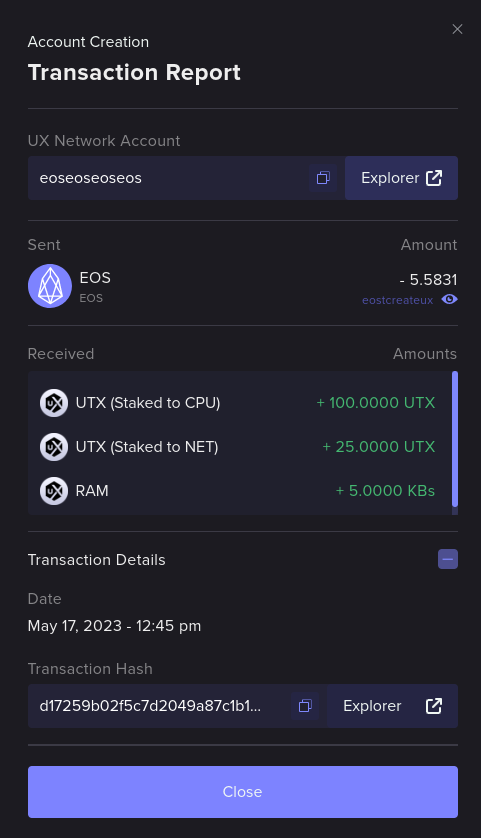
Congratulations! You now have a UX Network account!
You can now import the private keys for your new UX Network account on an Antelope wallet supported by UX Network, such as the Anchor wallet. If you are already using Anchor for both your EOS and UX Network accounts, and you have used the same keys from your paying EOS account for your UX Network account's keys, then you can scan for UX Network accounts on Anchor, and it should find your new UX Network account and add it automatically.